Ice Ornaments
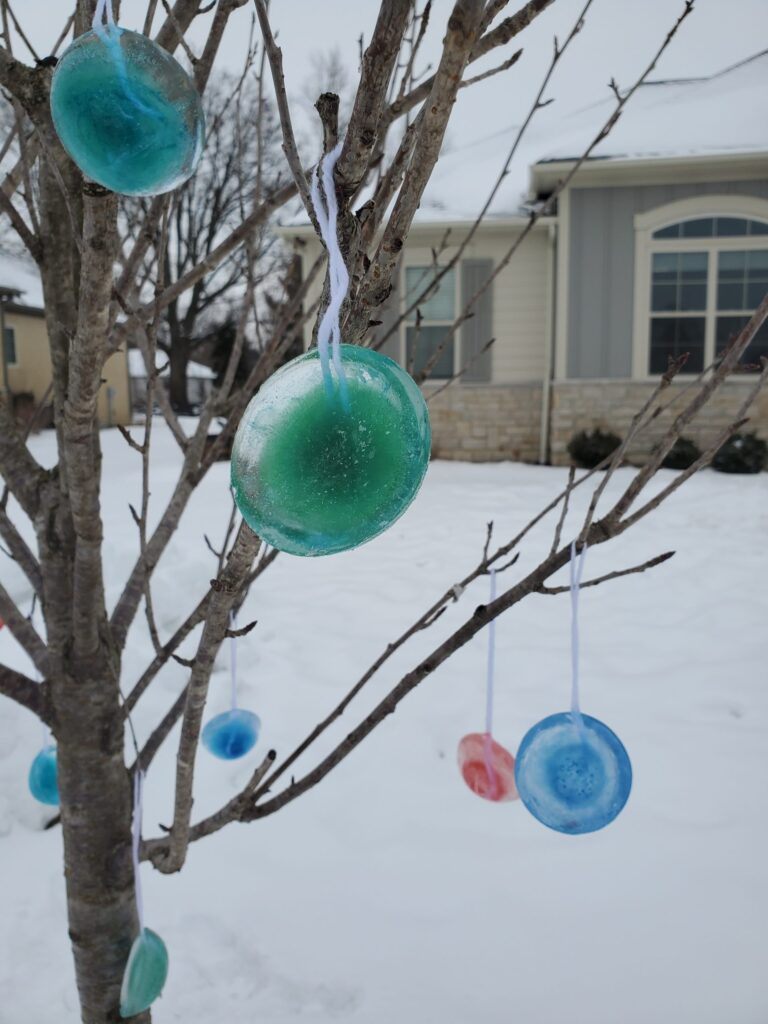
We had some really cold temps the last couple weeks – so cold that we couldn’t be outside sledding or hiking or any other fun winter activity. So, I decided to bring the winter fun inside with ice ornaments! These were super simple to do and a lot of fun. Plus, they looked gorgeous hanging outside in trees with the sun reflecting off the ice and snow.
Materials
- Silicone baking mold or flexible ice cube tray
- Food coloring
- Yarn or heavy string cut into 8″ pieces
- Water
Instructions

- There are a couple ways to fill the molds with water, depending on how dark or light you want the colors. Ava and I started filling the molds full of water and adding a drop of food coloring to each one, but the color was super dark and we ended up taking out 3/4 of the colored water and replacing with clear water to dilute the food coloring. We found it easier to use a coffee mug or large cup and fill that with water first. Then add food coloring to it and adjust the color to your liking before filling the molds.
- Fill the molds with colored water about 3/4 of the way full.
- Place both ends of a piece of string in the water, leaving a loop hanging over the side. This is the easiest way to hang the ice ornaments, but if you have a tree with large branches, you can alternately put the loop end of the string in the water and leave the 2 ends hanging over the side to tie around the branches.
- Freeze the molds until solid. Pop out and hang outside!