Hot Chocolate Bombs
Every year right around this time, the hottest toy/gadget/trend seems to make its debut. Remember Hatchimals – the stuffed animal that broke out of an egg when you rubbed the egg? Or how about those Fingerling monkeys that held onto your finger and turned their head when you talked to them? Old fashioned red farm trucks and gnomes have been the decorating trends for the past couple years and continue to be popular, however, this is definitely the year of Hot Chocolate Bombs! I tend to always be just a step behind when it comes to trends (story of my life!), as evidenced when someone on Facebook advertised they were selling hot chocolate bombs this season and I asked if they were for your bath. *sigh* In my defense, they looked like a bath bomb and I just figured they were called hot chocolate because they made your bath water smell chocolatey.
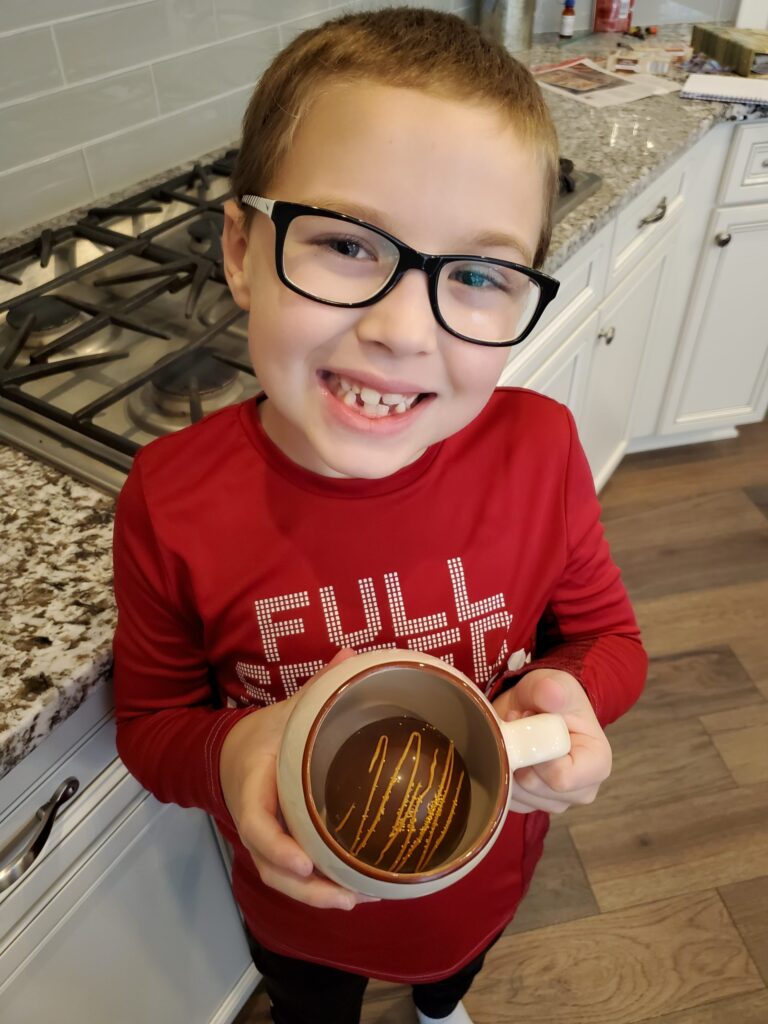
Anyways, after learning hot chocolate bombs are NOT for your bathwater, I ordered a few from the lady selling them and oh my goodness I am hooked!!! It’s a baseball-sized hollow chocolate ball filled with hot chocolate mix and marshmallows, so when you pour steaming hot milk over it in a mug, the ball melts and releases all the marshmallows to the top of the mug. It looks like an explosion of chocolate and tastes ridiculously good! Naturally, I decided to give making them a try 🙂
My first big hurdle was finding the silicone molds. Since hot chocolate bombs are the “it” trend this year, the molds have become like an elusive unicorn. Amazon is backordered until mid-December, cooking specialty stores have the prices marked way up, and all the local craft stores just laugh when you call and ask if they have any in stock. I had all but given up on being part of the in-crowd this year (nothing new for me) when I was in Hobby Lobby searching for gnome-making supplies. Suddenly, I wondered down the cake decorating aisle as if an invisible magnetic pull grabbed me and a Siren from a Greek tragedy whispered in my ear “check for the silicone molds.” There, hanging on the shelf peg, were 2 silicone molds the perfect size for hot chocolate bombs! They must have just re-stocked because the website still said sold-out. I grabbed the molds and triumphantly made my way to the front of the store, guarding those molds like I would a baby.
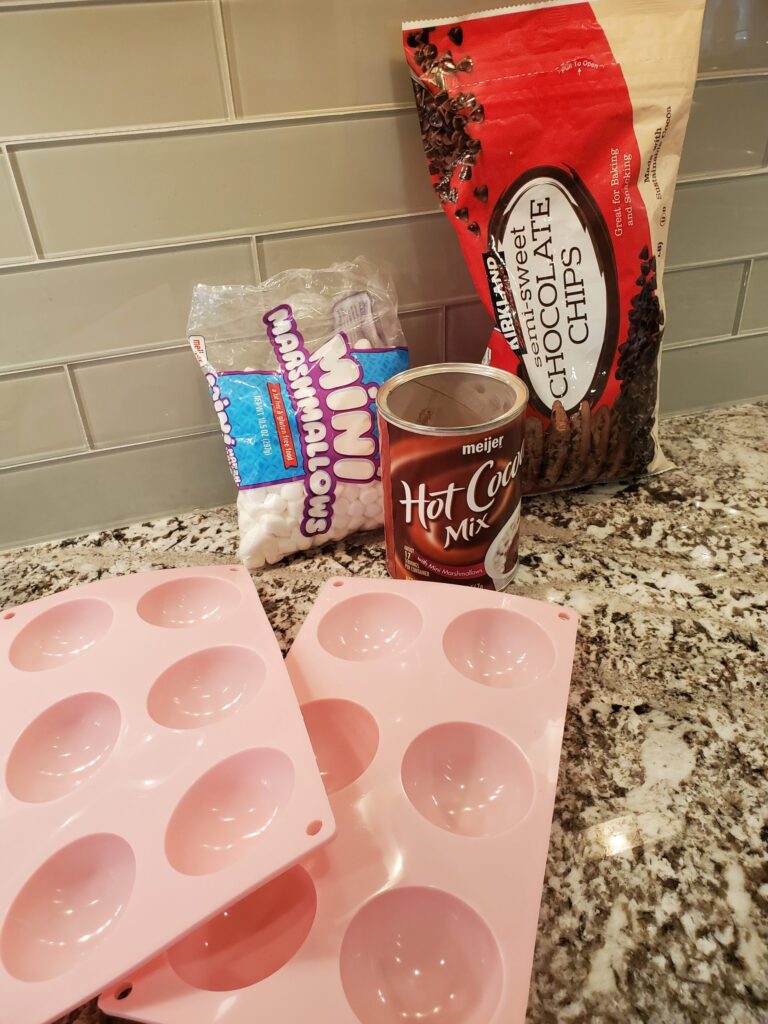
Back home, it’s time to get experimenting. I decided to start very basic with just plain old semi-sweet chocolate chips, basic hot chocolate powder, and mini marshmallows. No high-end ingredients or fancy add-ins in case I messed up and had to scrap the whole thing. Ava was my side kick for the assembly process and Eli volunteered to be the taste tester 🙂 After watching a dozen You Tube videos on various techniques, it was time to get the party started. Here’s a step-by-step guide to making the most delicious cup of hot chocolate you’ll ever have!
- Melt chocolate chips. The standard-size silicone mold for hot chocolate bombs has 6 wells. I used about 1.5 cups of chocolate chips to fill all 6 molds. You can melt the chocolate in a double broiler on the stove, or I just melted them in the microwave with 1 tsp oil, checking and stirring frequently so it didn’t seize up. If your chocolate melts too fast and gets clumpy, there is no saving it and you have to start over!
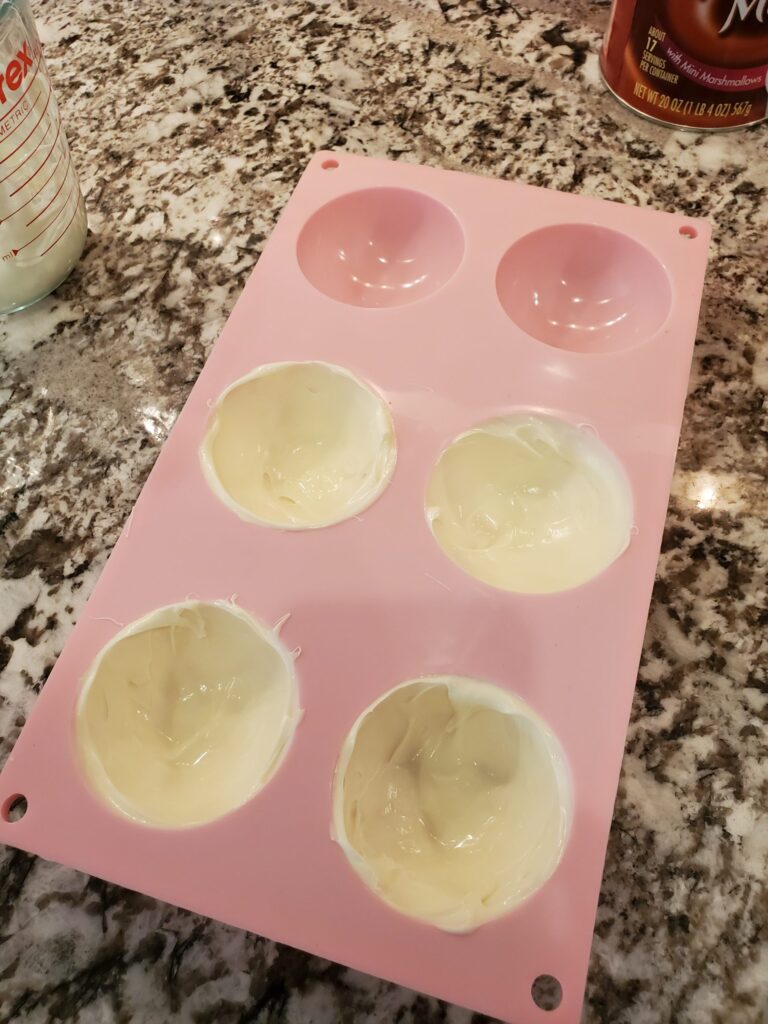
2. Pour a heaping spoonful of chocolate (I used a soup spoon) into one of the wells and using the back of the spoon, push the chocolate up the sides of the well. Make sure the chocolate is not too thin in any spots. Add chocolate if needed or scoop some out if there is too much. This is the part you just have to play around with until you get a nice coating. Take care the chocolate goes all the way up the sides so you end up with an even edge along the top of the mold.
3. Once all of the wells are coated, pop the silicone mold in the freezer for 8-10 minutes. Be patient. You want the chocolate completely set!
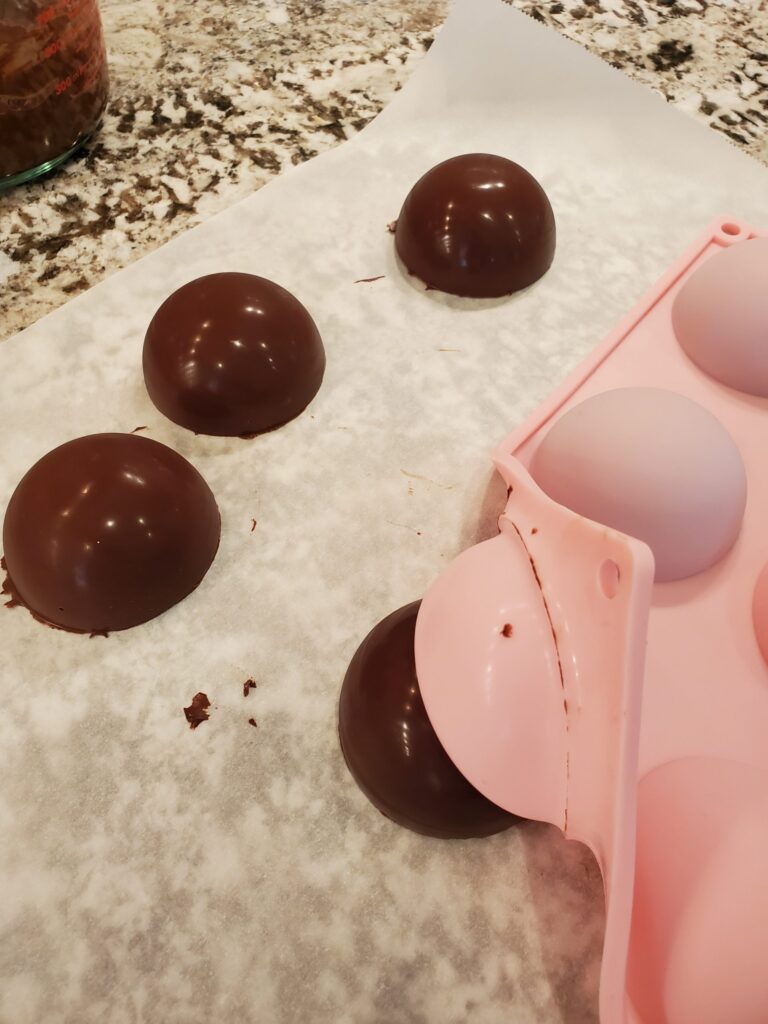
4. After removing the mold from the freezer, turn it over on parchment paper and CAREFULLY un-mold the chocolate. I found it was easier to pull the mold back from the chocolate and invert the mold to “pop” the chocolate out. Look at those beautiful cups of chocolate!!
5. Now we are going to smooth the edges so you have a nice area to work with when sealing the spheres. Heat a plate in the microwave until it is nice and toasty. Carefully pick up the spheres and rub the edge on the plate to smooth any rough spots. I made the mistake of using the same hand that I pulled the plate from the microwave to pick up a sphere and smudged my chocolate ball from the little bit of heat on my fingers. Don’t do that.
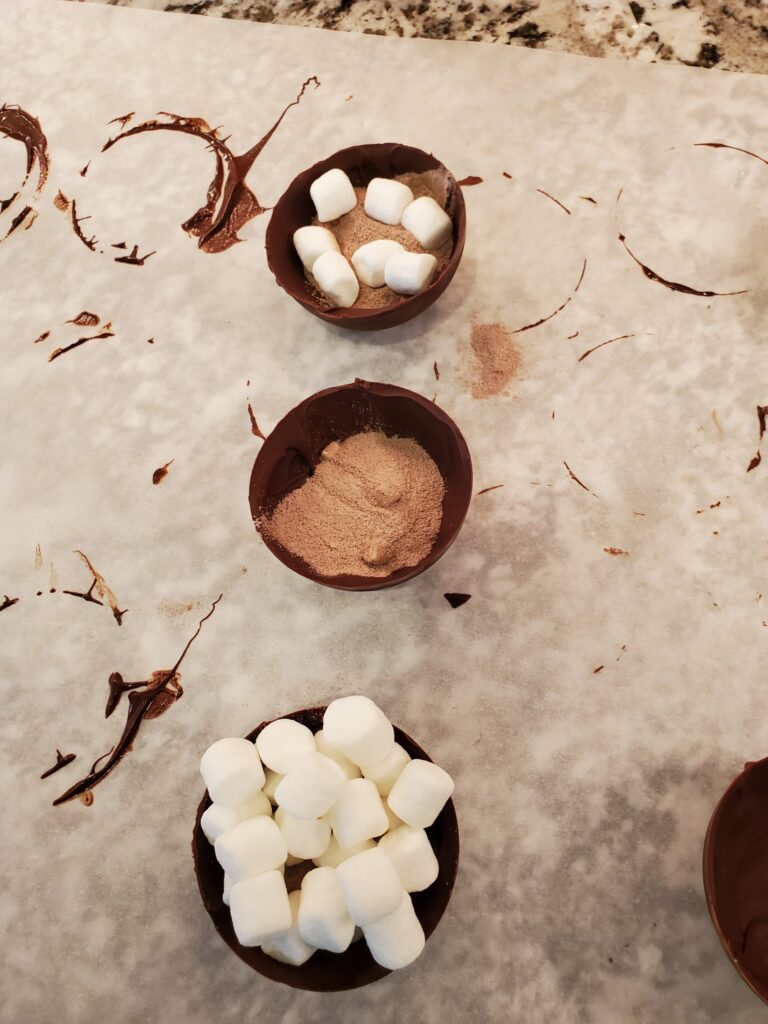
6. From one silicone mold tray, you should have 6 chocolate cups. Put 2 teaspoons hot chocolate mix in each of 3 cups. Then fill them with a heaping amount of mini marshmallows. For the 3 non-filled cups, once again run the edge on the hot plate (will probably need to rewarm it) to melt the chocolate and then stick it to one of the filled cups. If you find gaps in the edges when you stick the sides together, use the back of a hot spoon (boil some water, dip the spoon in water and wipe off the water completely) to run around the seam.
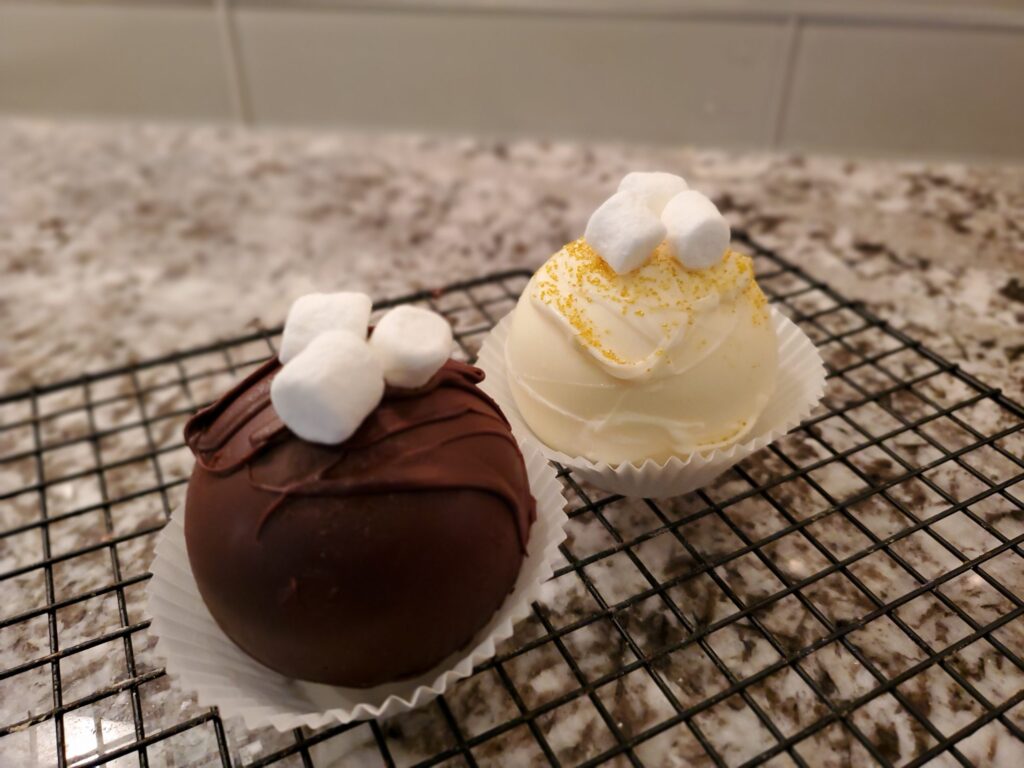
7. Now you have a beautiful chocolate sphere! I think they are pretty when decorated, so I melted some chocolate and drizzled over the top to stick marshmallows to. For the white chocolate, I also had some gold sanding sugar I sprinkled.
The use the hot chocolate bombs, heat 12 ounces of milk until very hot. Put one bomb in the bottom of a large coffee mug and slowly pour the milk over it. The chocolate will melt and out bursts yummy marshmallows! Give it a stir and enjoy the most decadent cup of cocoa 🙂
2 thoughts on “Hot Chocolate Bombs”
I love that you tried this! So clever! 😘
Ingenious! ! AND, delicious!
Comments are closed.